Showing posts with label making toys. Show all posts
Showing posts with label making toys. Show all posts
Saturday, January 4, 2014
Friday, January 3, 2014
DIY Play House


I built this play house (doll house, animal house, superhero house, whatever you want to call it) after a frustrating search for plans online. Ana White has several amazing plans for giant toy houses, but I wanted something more moderate that could fit on top of a coffee table. So I just took some scraps and bolted them together, going for that chalet feel. The most fun part has been adding pieces of furniture along the way, and responding to my son's interests. After making him a step to use when washing his hands, I made a miniature step for the dollhouse. When we started talking about potty training, I made a tiny toilet with a jig saw and spade bit and wood glue. When he was obsessed with climbing stairs, I added a staircase and a ladder.
He loves it! I like to set it up in different places around the house, with different components in and out. Some days his toy sheep are waiting to descend on the place with their toy suitcases. Other days its his gorillas or his little dolls. Some days the kitchen takes center stage with tiny puffball apples and lemons available for cooking, other times the living room beckons. It's easy to move everything around, and with the chalet style, he can reach in and out from any angle.
If you have built anything or painted anything, chances are you have enough scraps and paint to make this simple project.
Saturday, May 25, 2013
Table Play


The right moment for a kid-sized table for N came this month. The same month when he started climbing onto every outdoor bench, outdoor cafe dining chair and living room recliner. His eighteenth month to be exact. He was ready for the big leagues. I mightn't have guessed it if he hadn't made it so clear.
So I made him a table. Ana White's Clara Table to be exact. And boy, sitting at it is a revelation. He likes to move his blocks around it. Move his bugs around it. Move his toy cookies around it. Move his banana around it. Read on it. Drum on it.
Sit at it. The way we do at ours, just a few feet away. And when I think of all there is to look forward to with this table, I can't help but grin. Play-doh. Coloring. Finger painting. The perfect base for block towers that soar to the sky. Picnics with his toy lamb and little toy lamb and toy sheep who all say ba. Did I mention N says ba for them now? How I do love it.
I hope this table will be the kids' table for family Thanksgivings with his cousins. And a center of fun at playgroup. And a great place to put the little treehouse I'm making him.
I like to put out different boxes of things on different days. You never know what you might find on a table. Especially if it has orange chairs...
Of course kids' tables are to be had in many places - rummage sales, IKEA, thrift stores, Amazon. But I really had fun making him his and letting him pick "Ripe Persimmon" from the paint samples at the store. I have loved dabbling in furniture building since N was born, and you just might too. Ana White makes it a lot easier than I thought it could be. I even circular saw now (and I only watched five safety videos first). A lot of new roles come with motherhood, and carpenter seems to be one of mine.
Friday, May 24, 2013
On stocking the play kitchen...


I love having something for N to do in all the rooms of the house. Whether it's the bathroom or the kitchen or his playroom, if we're going to be in there for even the briefest period, it helps a lot if he has something to look forward to there. And we spend a lot of time in the kitchen! So N's kitchen area really matters. Our DIY play stove was a great beginning, but the way we've figured out to stock it has really helped keep the area fun.
There sure are a lot of baby kitchen products out there. Miniature pots and pans, mixing bowls, spoons, popcorn cartons, tin cans, ice cream cones, and everything else you can imagine. Even plastic baguettes and matzoh. If it exists in the adult world, it exists in tiny plastic imitation. But the thing is, N likes the real thing. He likes our raisin containers, milk jugs, parmesan tupperwares, Mac-n-Cheese boxes and Fuji water bottles. He likes our sauce pans, butter boxes and measuring cups. He likes the cream of tartar. He LOVES the sprinkles.
And the thing is, we already have all those things.
I get excited now when we are about to finish a plastic syrup bottle or a peanut butter jar. It could be said that I stalk that last bit of baking powder and final brick of baking chocolate, just waiting for them to disappear so I can add the container to N's pantry. We have a small set of realistic foods (tomato, banana, cheese, etc.) from Lakeshore Learning and a few food-themed coasters to complete the set, but mainly our kitchen play area was free, and we probably play with it more than anything else in the house.
In seventeen months, we've never had to put child locks on any of the other cupboards. As soon as he opens another door, I just ask him if he will please close it and if he wants his cupboard opened. Voila. Play ensues. We make cinnamon raisin broccoli oatmeal or peanut butter sprinkles eggs. You never know what will go in, but I help to stir and take enthusiastic tastes of all of our dishes. If play appears to be petering out, I head for the cupboard and invite further exploration.
"Do you think it needs some gatorade powder? Maybe some soy milk?" Generally my invitation is accepted, and the cooking goes on. It is elaborate and imaginative and I love to participate.
Tuesday, May 21, 2013
Creating an Outdoor Space for Play


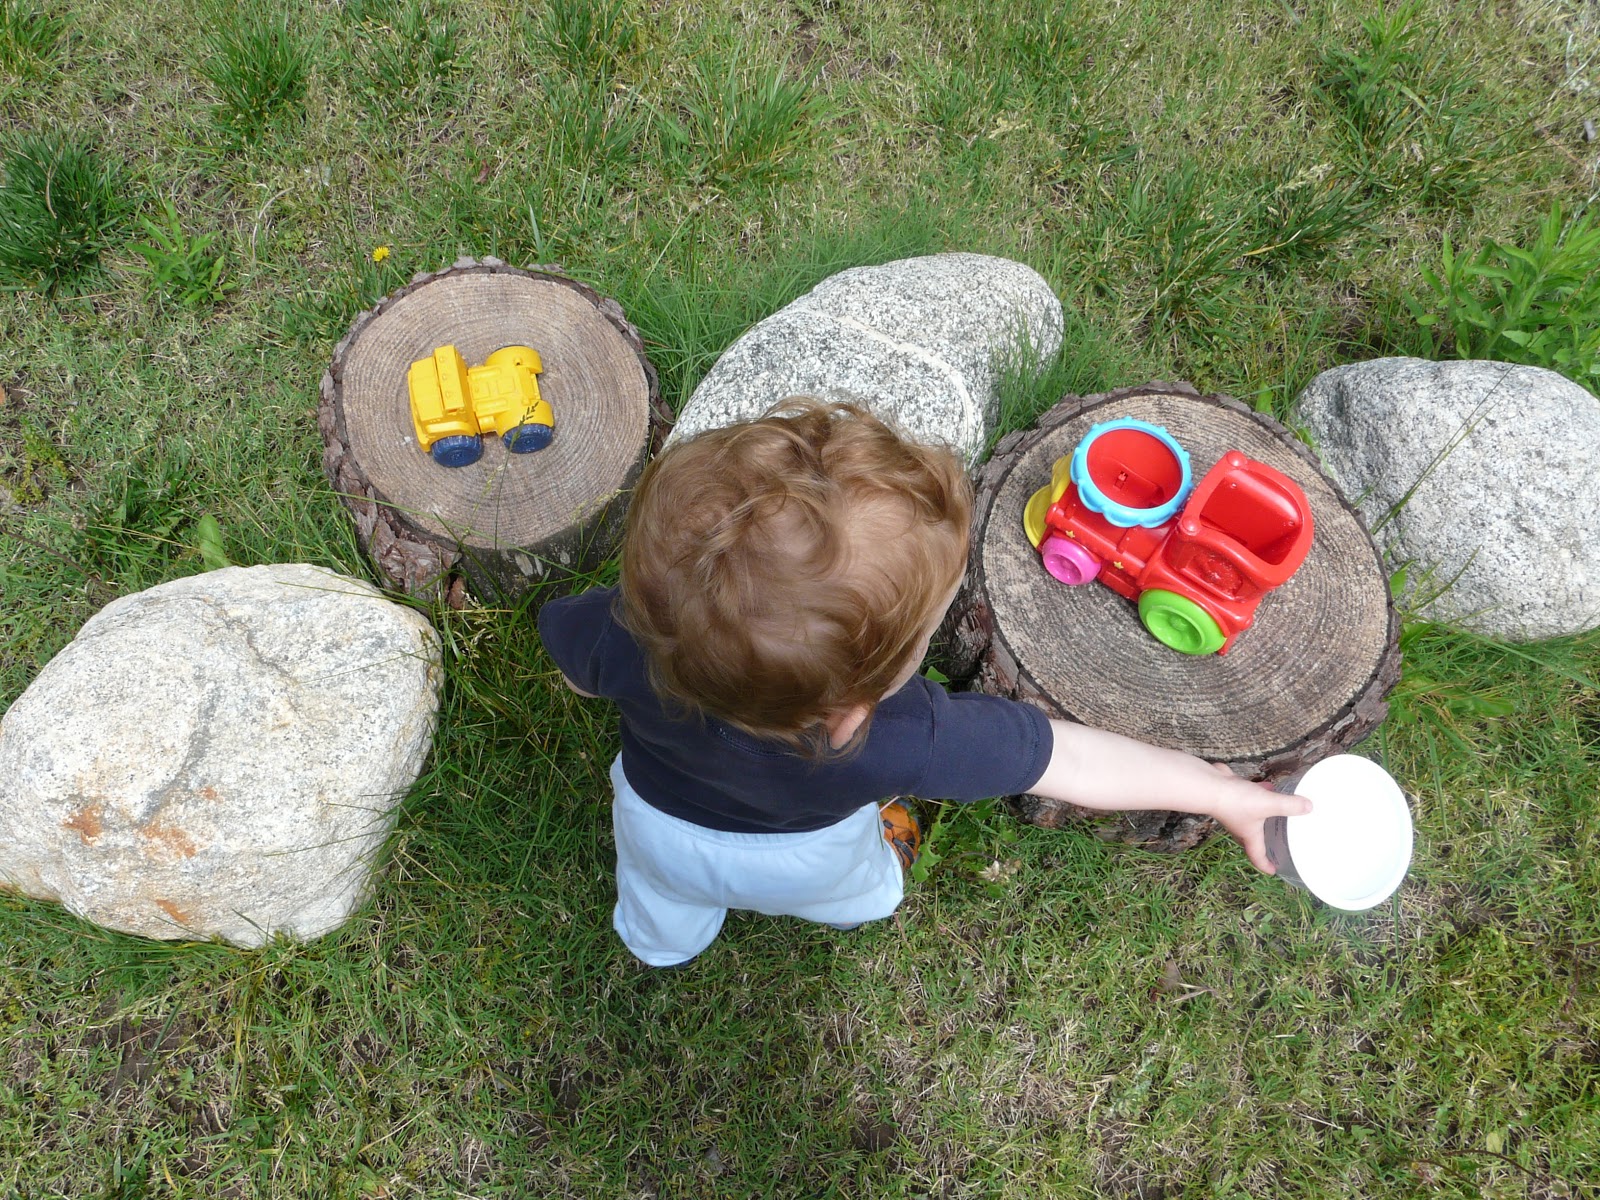


Before I had N I had never heard of loose parts play, sensory play, stump circles or water tables. I didn't know you could make your own tree blocks, create playgrounds out of rocks and logs, create outdoor kitchens and make your own sandbox with little or no experience building.
Then my son learned to walk but still only had a four minute attention span for his toys, and I found myself wondering, what will we do? What kind of space can I create so that my son will be happy and safe at home for at least some hours of every day?
So I began to read during naptime. I checked out what Modern Parents Messy Kids had to say on the subject. I perused the thoughts of Teacher Tom. I hopped into the wide world of Pinterest and pinned photos of inspiring backyards onto my board.
Then I found some stumps and lucked into some big rocks. I made a path for N to climb on across the yard with some of the rocks and stumps and scattered some stumps around as tables. I built two water tables. I built Ana White's Fold-Out Bench Sandbox and it was just not that hard. I scattered some buckets and shovels around. I made some tree blocks like Counting Coconuts.
Now we play in the backyard every day. Pouring water, stacking blocks, making potions, seeing if this and that will float or sink. And when other kids come over, look out. It's a wild ride. Today we had four one and a half year olds out there and it was wet and sandy and great.
Our Take on Sensory Play


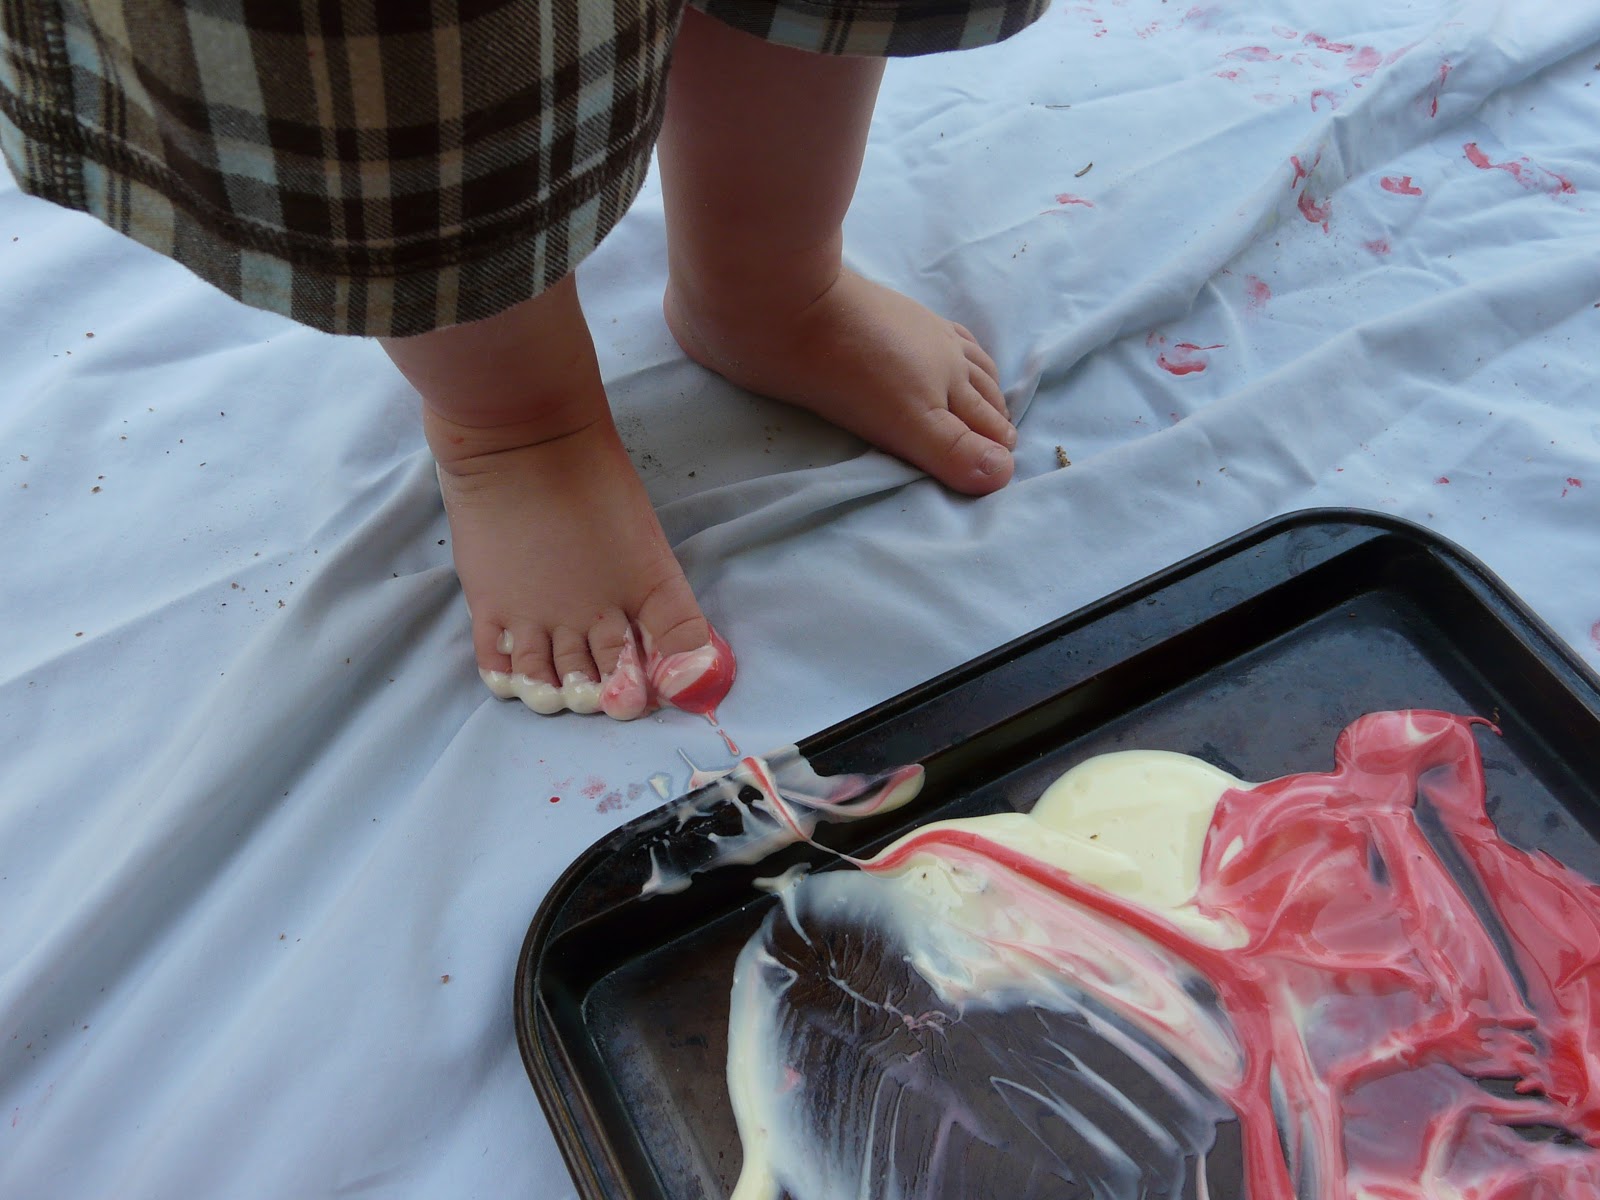

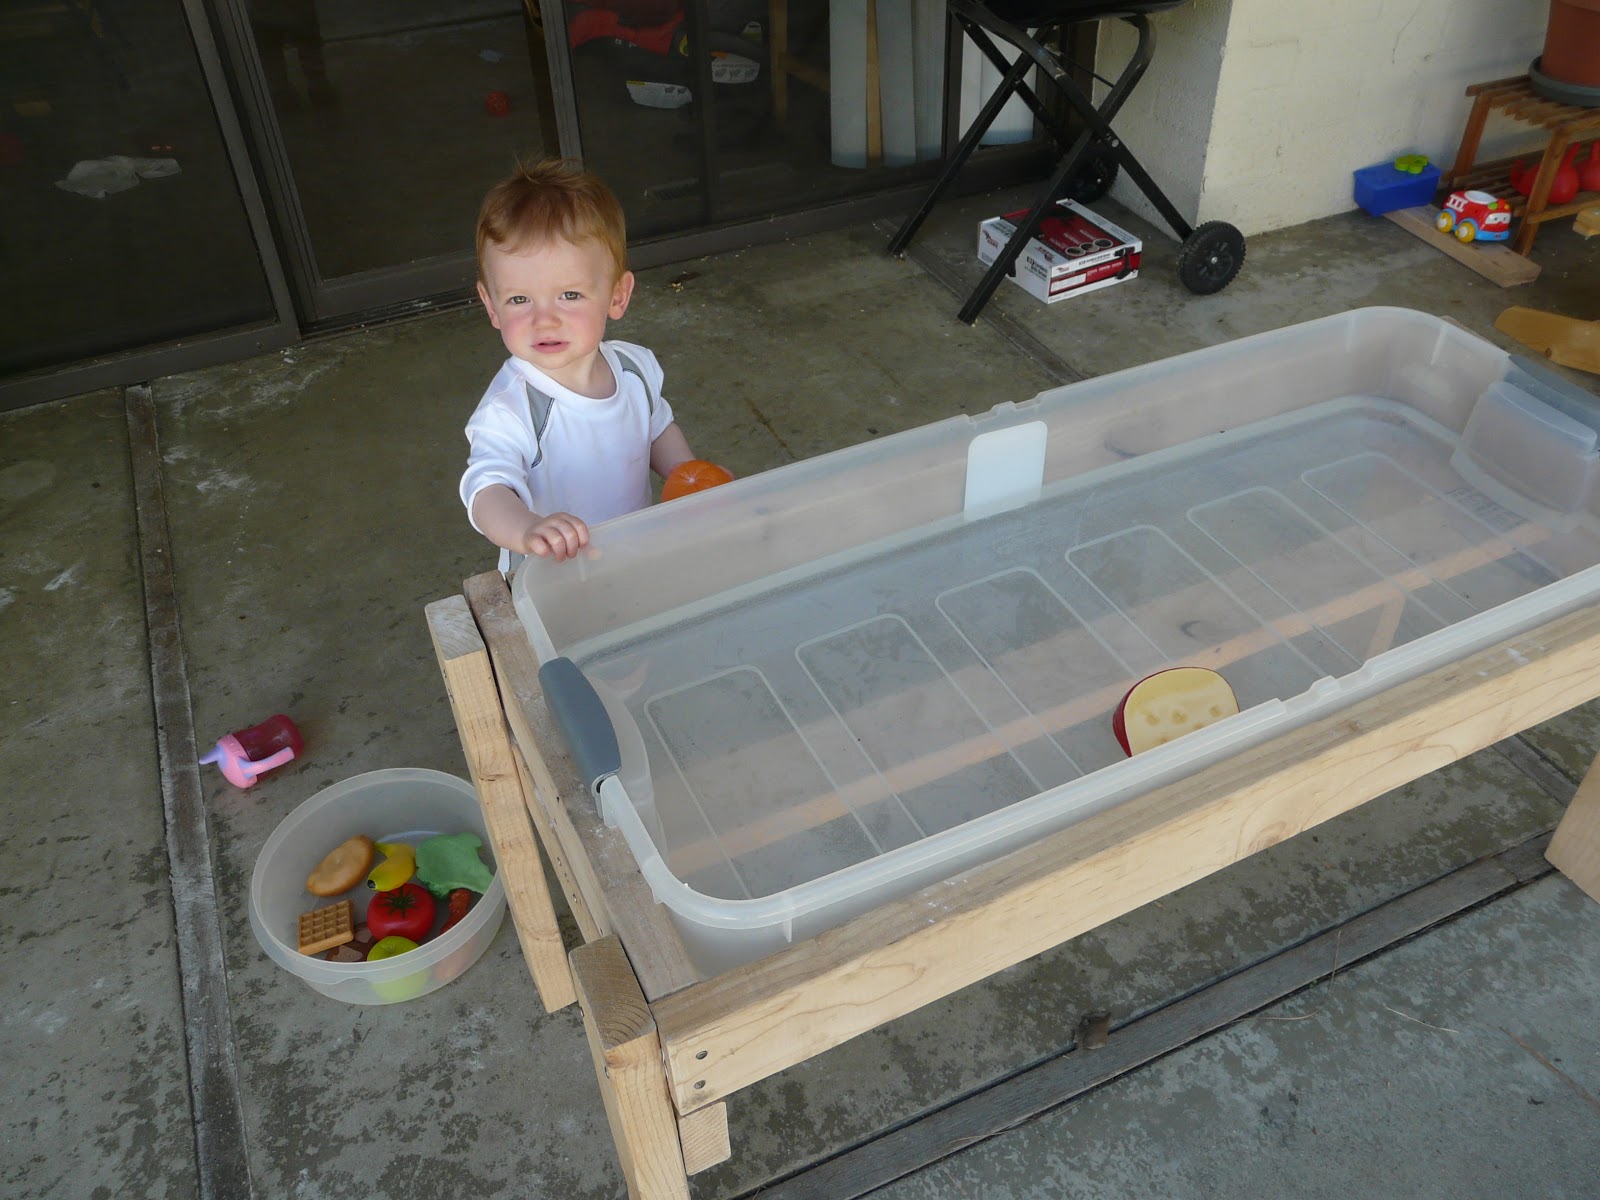
Sensory play is a well-covered topic on the internet already, but I haven't heard much mention of what to do when you're toddler still wants to eat everything. Many bloggers simply refer to how they tell their toddler "not to eat" the first time and boom, the millions of sensory options open up to them. Not so around here! But we still have sensory fun, most often with water in our homemade water tables. But we've also tried Love Play Learn's rainbow spaghetti and Fun at Home with Kids' yogurt paint. We tried fish and star shaped ice too. Anything that's safe for his mouth is safe for his hands!
Incidentally, our water tables are definitely toy numero uno around here, with N and with his friends. We made Moms by Heart's table in two sizes - a small low one that either makes a fun second level for water play or a great spot for sensory materials and a long higher one.


Want oodles of sensory ideas?
Play Create Explore's Sensory Bins: http://www.playcreateexplore.com/p/sensory-binstubs-and-activities.html
Play-Based Classroom's Sensory Play Ideas: http://play-basedclassroom.blogspot.com/2011/05/sensory-table-ideas.html
Teach Preschool's Sensory Play Everyday: http://www.teachpreschool.org/2011/11/everyday-sensory-play-in-preschool/?utm_source=feedburner&utm_medium=email&utm_campaign=Feed%253A+TeachPreschool+%2528Teach+Preschool%2529
Sunday, February 3, 2013
Cardboard Blocks


It's so easy. Plus, you start getting really excited every time you finish a box of waffles, cereal, pasta, whatever.
Cardboard blocks!
I just cover the ends in duct tape and then cut out a piece of contact paper to wrap around the whole main part of the block. I'm not too careful about it and usually end up double wrapping a bit with my long sheet, and that way there are no rulers involved. Each block takes a couple of minutes - it'd be a good activity while watching a movie.
N can stack them easily, and he likes carrying them around too.
Thursday, January 31, 2013
DIY for the rest of us - A Glue Gun, Contact Paper and Duct Tape


You can make a lot of kids' toys with a glue gun and duct tape. Throw in some contact paper and you are set. Two projects that each took me about an hour and a half were Nate's train table and his little kitchen. The train table features a $10 IKEA train set glued down to a plywood sheet, with some arches made from blocks (glued down) and some felt pieces for water and grass (glued down). Pretty easy. Then I duct taped the whole thing to the coffee table, so I can take it off now and then to keep it fresh.
The kitchen is basically three boxes covered in contact paper, with felt circles (glued down) for burners and some boxes (glued up) hanging from the left hand box for shelves. Total cost on that one was probably about thirty cents.
I'm planning to become handy. Very handy. I have already purchased sand paper and an electric drill so that one day soon I will be making the DIY trestle tables, art tables, bookshelves, reading tents and everything else so tempting at Ana White's incredible make-your-own-everything site. But for now, I recommend a glue gun. And duct tape. And contact paper. You'll soon find the sky's the limit.
Subscribe to:
Posts (Atom)